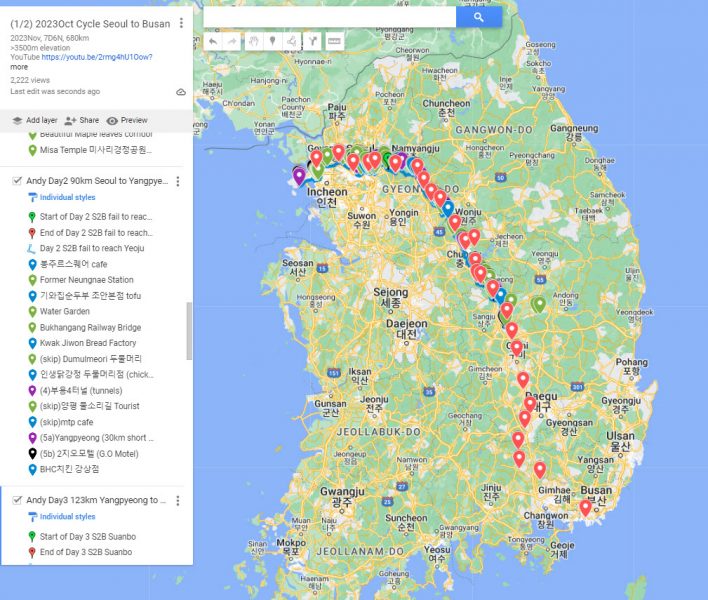
Cycling Seoul to Busan on Day 3 took me from Yangpyeong 양평군 to Suanbo, total 123km.
Day1 90km IncheonAirport to AraWest to Hongdae
Day2 90km Seoul to Yangpyeong
*Day3 123km Yangpyeong to Suanbo
Day4 82km Suanbo to SangjuSi
Day5 90km SangjuSi to Daegu
Day6 114km Daegu to Namji
Day7 95km Namji to Busan
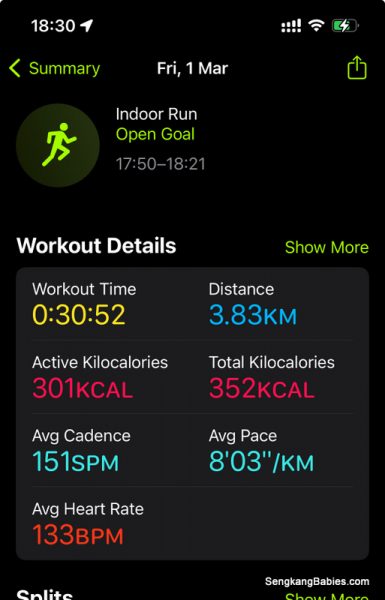
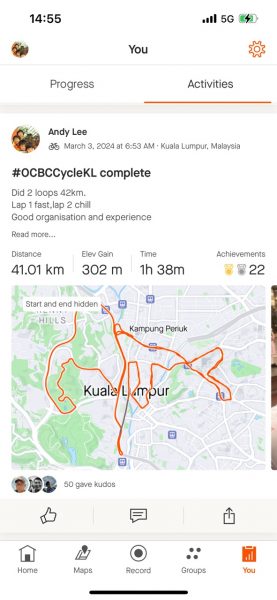
This is my day 3 Strava record, I needed to make up for Day 2 extra 30km.

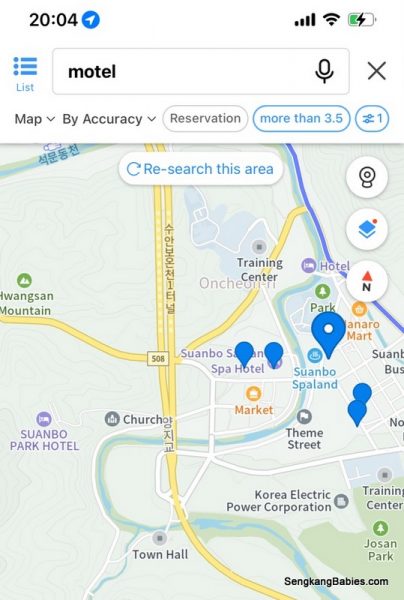
When people hear Suanbo, they will remember the hotspring and Sauna town. When cyclists hear SUANBO, they will remember the two peaks!
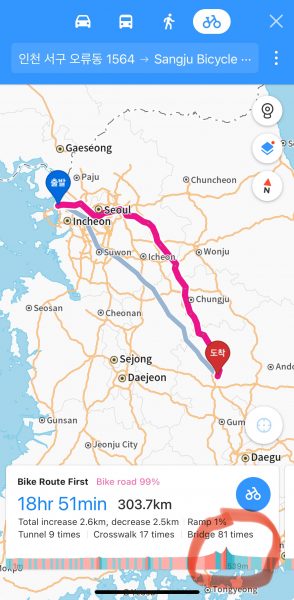
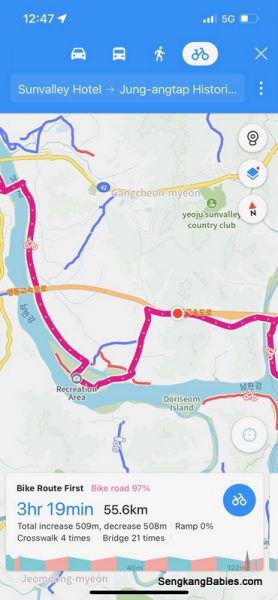
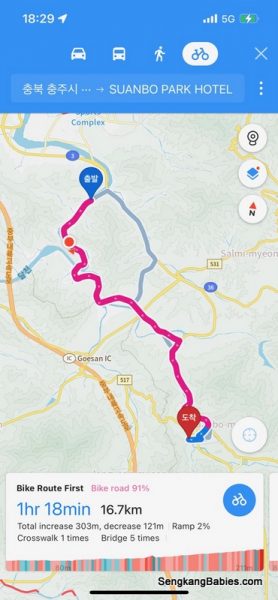
Refer KakaoMap image below, you will see an elevation of 530m+ for the second peak.
It took me 45 min and 70 min respectively to submit first and second mountain. Second one stands at 530m, and is 4km long!
(If it helps, let me assure you that the elevation on Day 6, after Musimsa temple will be steeper :p )
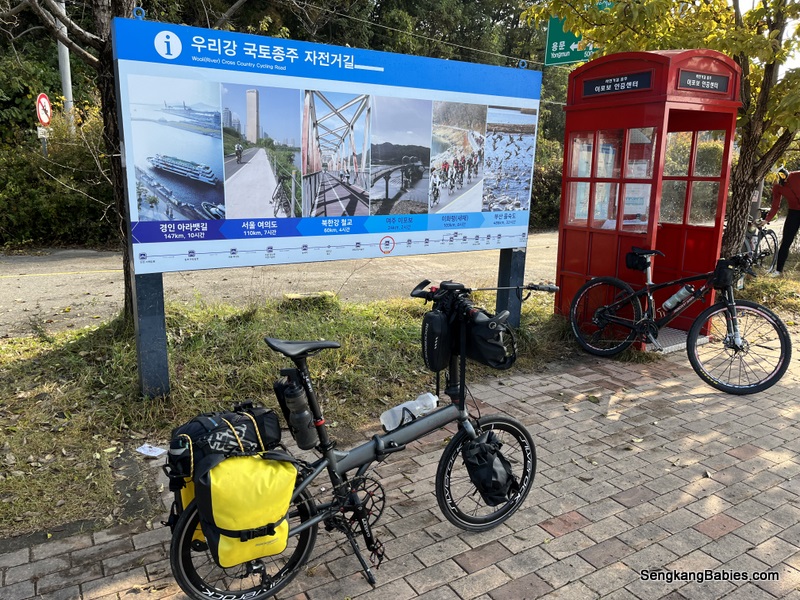
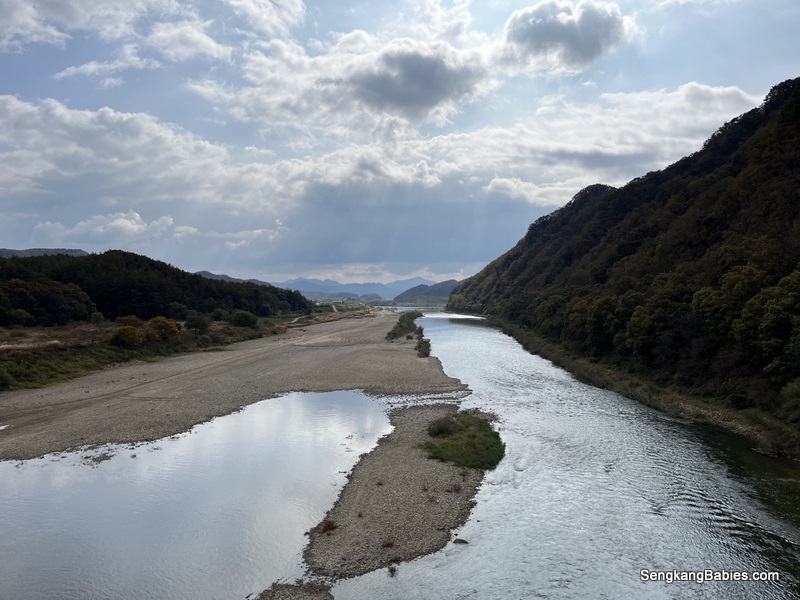
Back to our Day 3 itinerary, I rode across the river and continued on my way.

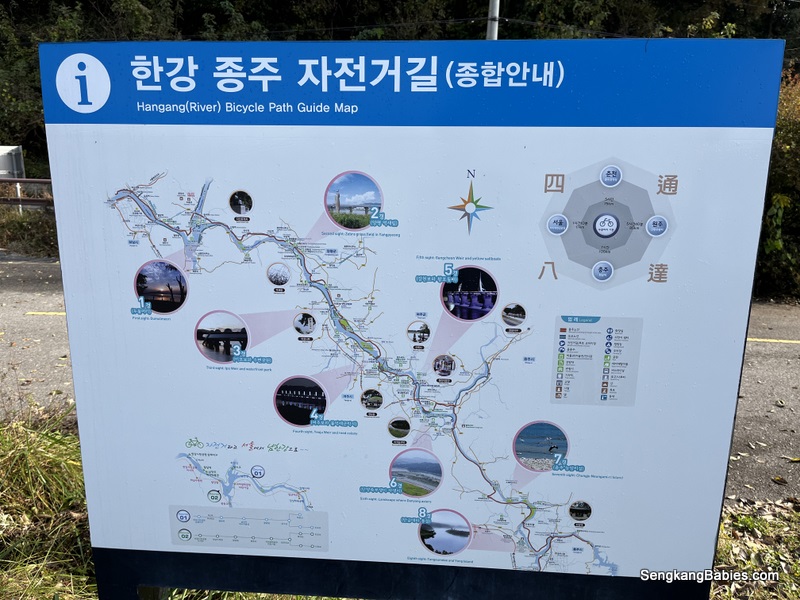
Anyway, this is my Day 3 route and map. The highlights are:
1- Yeoju town
2- Gangcheonseom Island (stunning flowering and views in Spring and Autumn)
3- Skipped Andong(충주댐 인증센터), 50km one way (ie 100km to & fro).

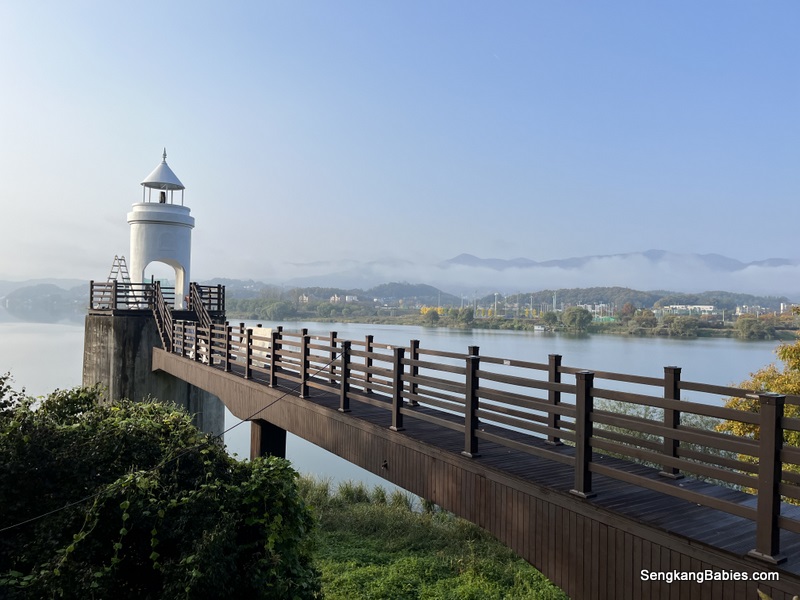
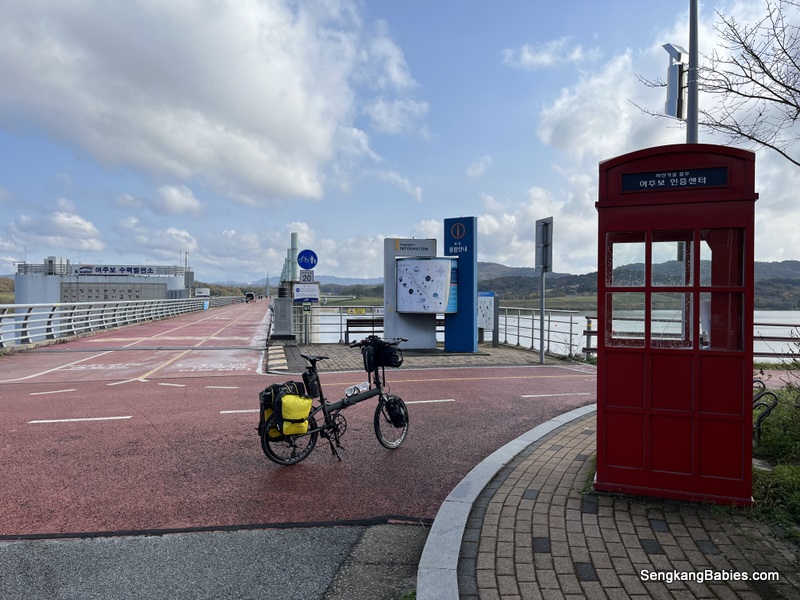
Scenic pathway next to the river, with a mini lighthouse.
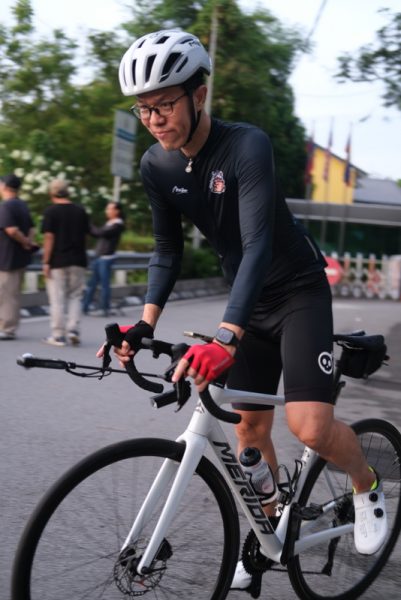
My third day of consecutive cycling. Unless you are a triathlete, you should feel some strain from your leg and back. This is normal.
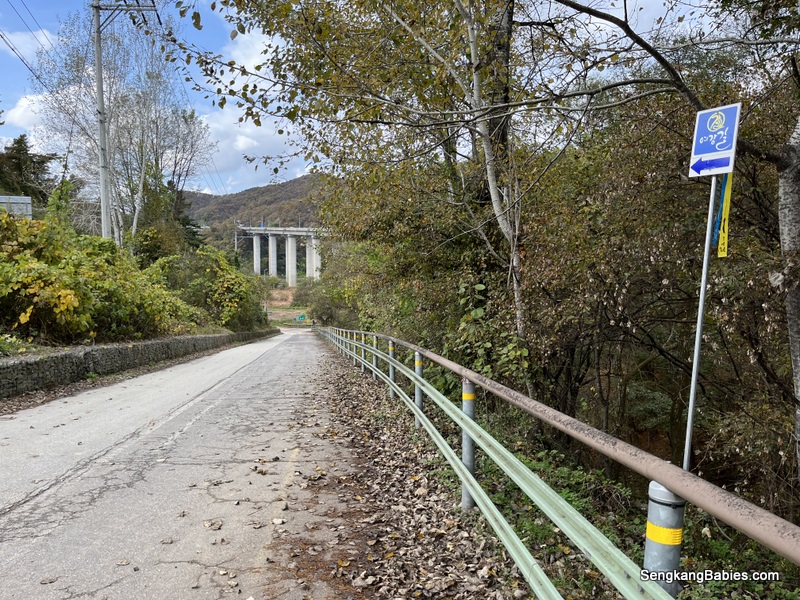
It did not take me long to encounter my first 10% climb at (GPS 37.4426950, 127.5151004). This would be super easy for MTB and road bikes, but slightly more challenging for small wheels with panniers.

If I had continued through the rain yesterday, it would have been miserable when I hit this slope. Wet, tired and climb. I might have missed the opportunity to find a motel to stay dry and safe.
This is part of the disadvantage of solo cycling. You do not have a buddy to help navigate or plan. Every decision, and detour has to be improvised on the GO.
One person ride disadvantages:
-Hard to have Plan B
-No one to pull or draft
-Self service. If fall or puncture, diy
-Navigate and ride on the go, ensure you are on the right segment
-Research for pit stop and meals
But I enjoy the challenges and FREEDOM from solo cycling! Cycling Seoul to Busan brought back epic memories for me

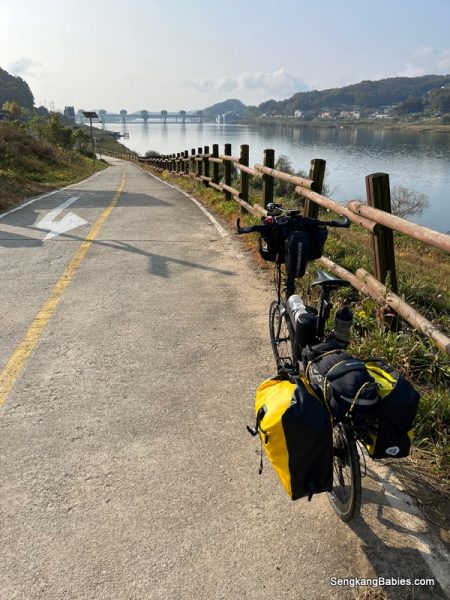
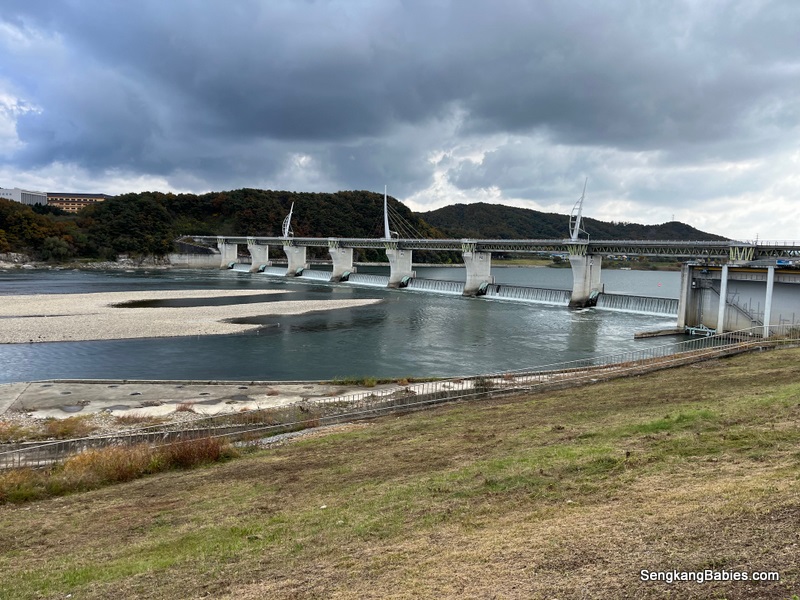
Ipobo weir observatory in the background. I love these mini pavilions. Ideal for breaks, shelters and even camp.
Salute to those cross country cyclists who are into camping. you have to pack more things and “rough” it out in the cold.


Yellow ginkgo welcomed me from every corner!


Maybe the fence is too low, some might accidentally topple over?

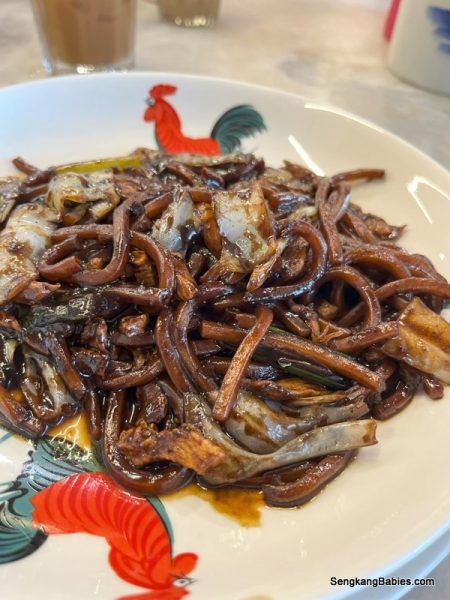
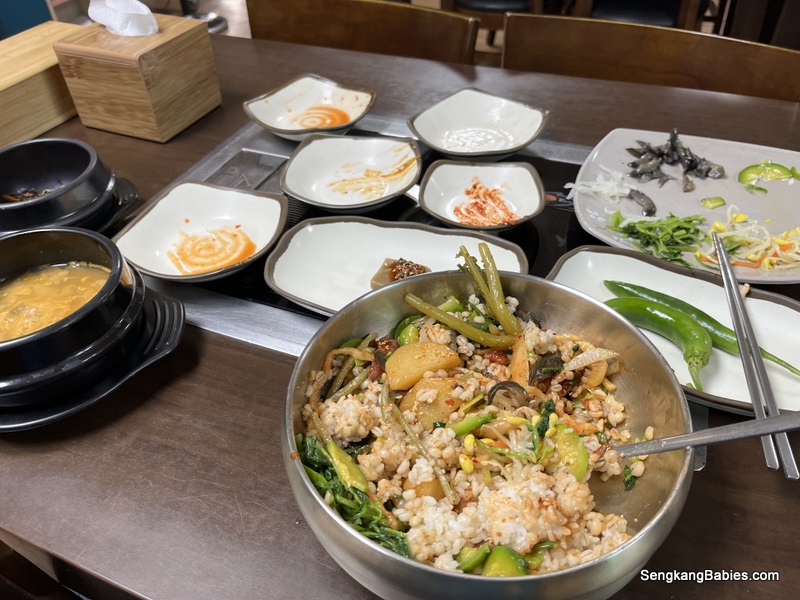
Delicious home cook comfort food and sweet seafood broth! Besides the ‘main dish’, I actually prefer savouring the various banchan!
Salty, spicy, sour or sweet, surprise me 😋
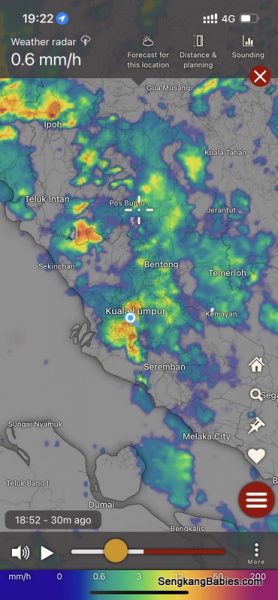
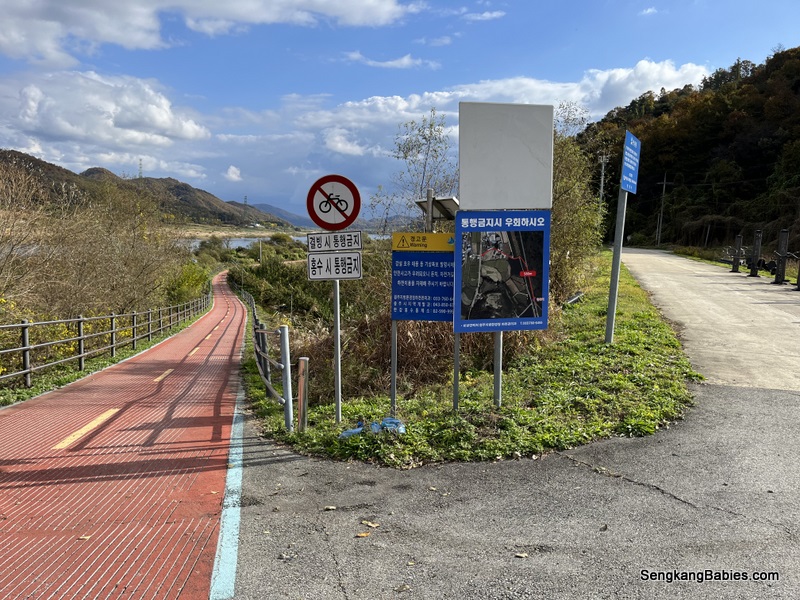
Flood warnings! Flooding is very common during rainy seasons. Entire pathways can be submerged, and cyclists will need to detour.

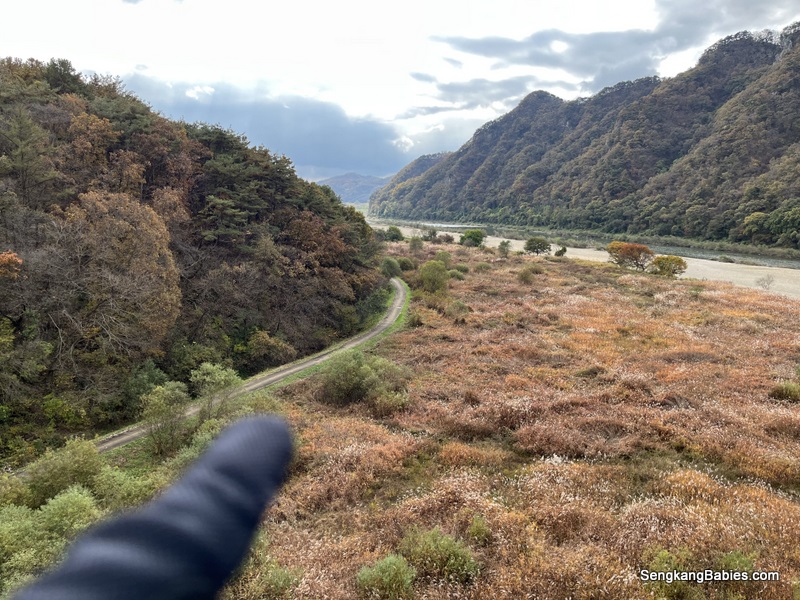
Refer map picture below . I remembered this segment where I could roll for 10km with no cars behind! The whole countryside and road was mine to enjoy.
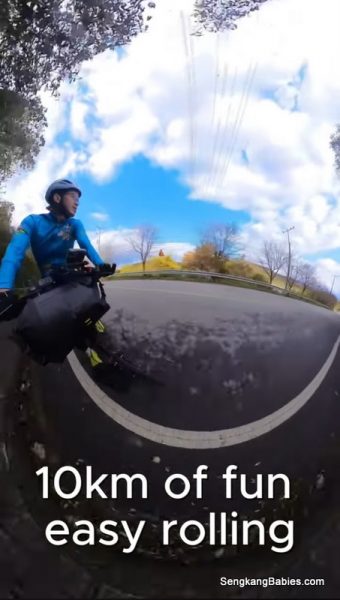
(37.1097688, 127.8094714) near Binaeseom Certification Center (비내섬 인증센터 (남한강 자전거길). If you cannot find the certification booth in Kakao Map, try ‘비내쉼터’.


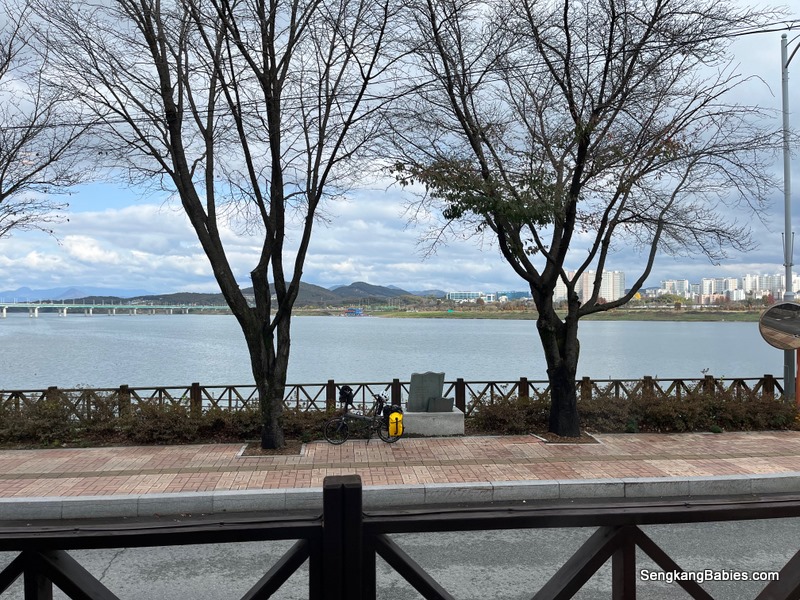
Reached Jungangtap historic park, and acted like a tourist. This ancient pagoda is famous.


Besides the pagoda, there is a pavement which allows you to cycle above the water, pond. Expect scenic sunset or sunrise. 
At this point (5pm), I already knew I needed two more hours to reach Suanbo. Quickly make a pitstop at emart24 to recharge. Topup water and carbohydrate (chocolate) for the last 20km.

You never know when is the next ‘refilling’ point.
Cyclists do take note that Korea petrol stations do not sell food or drinks!

The only thing keeping me on the right path is KakaoMap navigation.

The two climbs will wear you down. Refer to our Day 4 Video here.
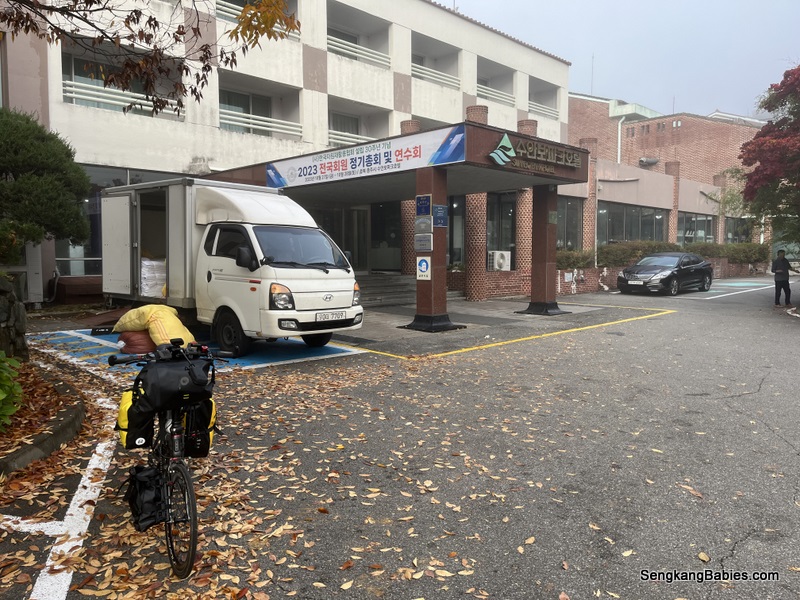
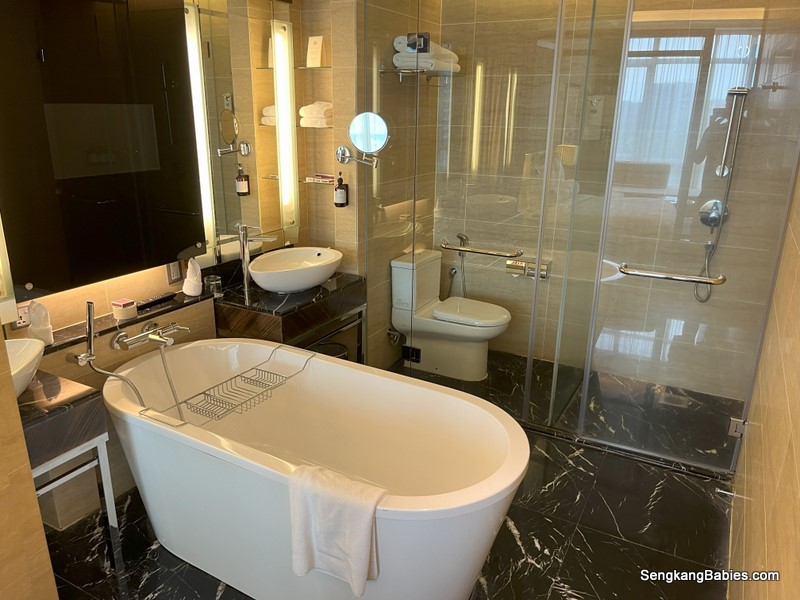
Single pax room was out, thus I needed to pay 141 000 won for a twin room. Too expensive (I could have secured x2 decent motel for this rate) and I had no interest to use the sauna.


Try to rest early, as Day 4 will start with CLIMBS!
RESOURCES:
a)Part 1 and 2 of my custom Google Map will share my route, F&B and motels from Seoul to Busan. Do take note that I did not follow 100% 4 Rivers Route, skip Andong, and I did not search for all the certification booths.
I have indicated “Purple markers” to represent Detours and Slopes.
(Part 1 Seoul to Sangju) Red dots depict the Certification Booths.
https://www.google.com/maps/d/edit?mid=1wkn6Pfp_OownBmnRM_C3gOaBEOos-pU&usp=sharing
(Part 2 Sangju to Busan here)
https://www.google.com/maps/d/edit?mid=16LLQuW-Xw9wna0ifgsfTBmLnOzz74ug&usp=sharing

b)YouTube videos of my 4 Rivers trail (wip)
Day 1 Bike boxing, ferry and cycling from Incheon Airport to Ara West
Day 2 – 4 Rivers trail Seoul to Yeoju
Day 3 – Yeoju to Suanbo
Day4 82km Suanbo to SangjuSi (submit two mountains)
Day 5 90km SangjuSi towards Gumi and Daegu
Day 6 114km from Daegu to Namji (Hardest segment for me)
Finale. Day 7 95km from Namji to Busan (end point)
I am still working on the other videos, do browse through all the photos in album below.

c) 300+ Facebook photos over 7D6N
https://www.facebook.com/media/set/?set=a.10231495769562405&type=3
d) Seoul to Busan blog :
Day 0 Summary – Bike Boxing overseas and cycling from Incheon Airport to Seoul
Day 1 – Bikepacking Seoul to Busan – Day 1 cycle to Seoul downtown
Day 2 – Bikepacking 4 Rivers – Day 2 to Yeoju
Day 3 – Cycling Seoul to Busan – Day 3 Yangpyeong to Suanbo